> For the complete documentation index, see [llms.txt](https://help.quickappflow.com/llms.txt). Markdown versions of documentation pages are available by appending `.md` to page URLs; this page is available as [Markdown](https://help.quickappflow.com/product-guides/field-sales/add-customer-from-the-mobile-app.md).
# Add Customer from the Mobile App
A customer's presence in a field sales app is essential for effective sales processes.Sales representative require access to customer data,like contact information, route name & past interactions
## Add Customer
In the mobile app, QuickAppFlow allows you to add customer in the following ways:
1\. Add customer individually
2\. Add customer from Today Plan
3\. Add customer for Selected Route
## Add Customer Individually
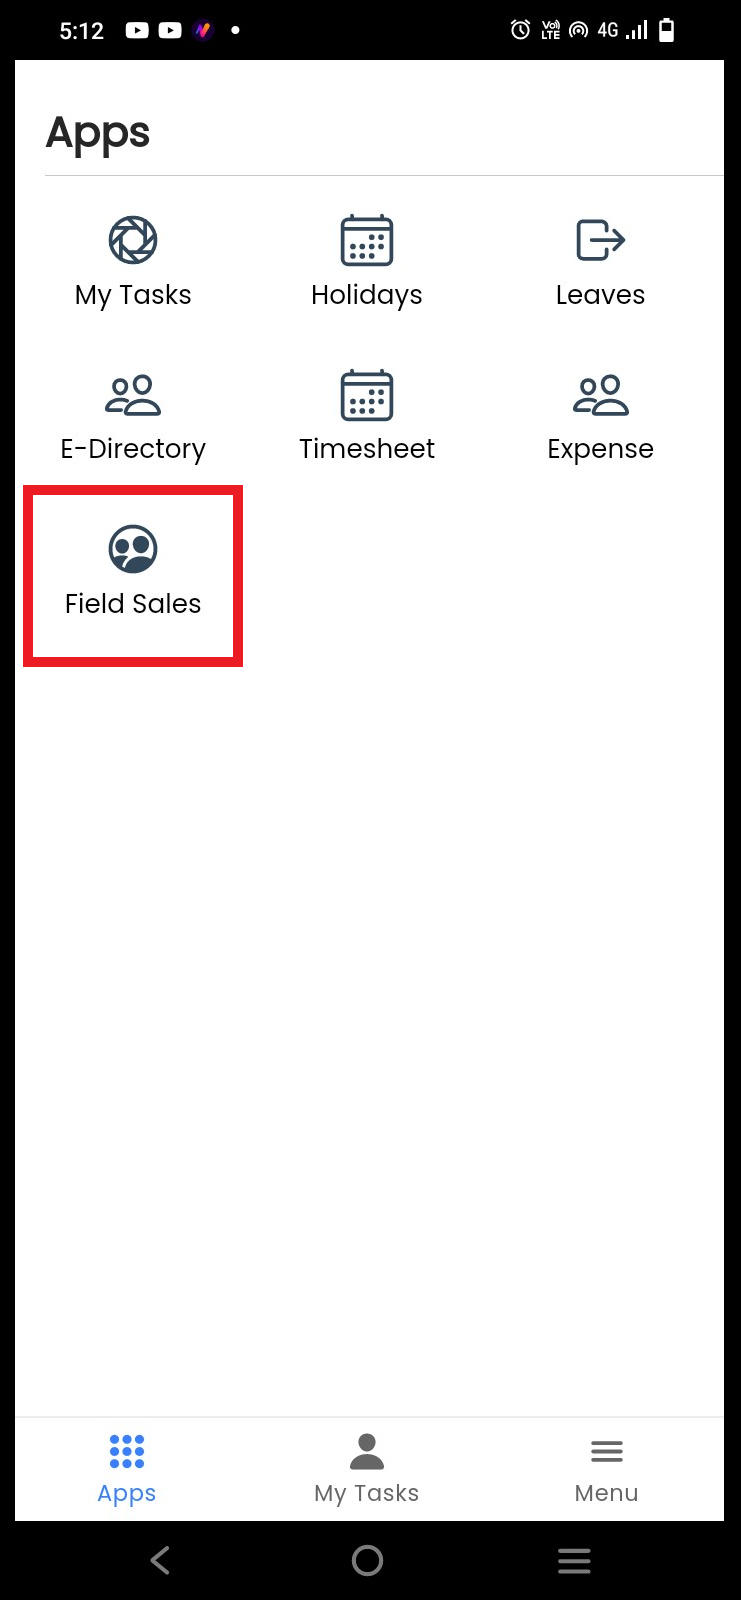
In QuickAppflow app select the **Field Sales**
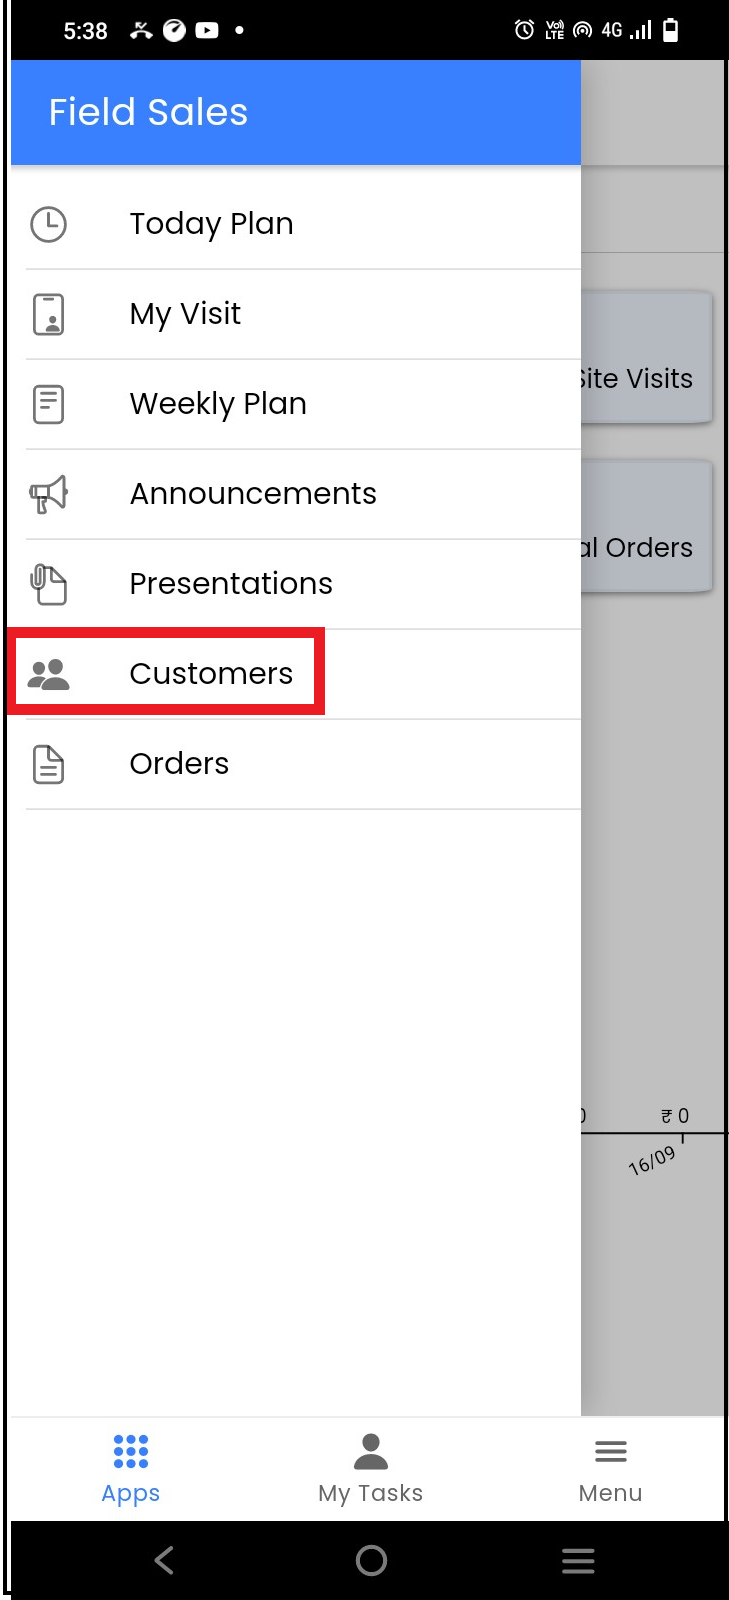
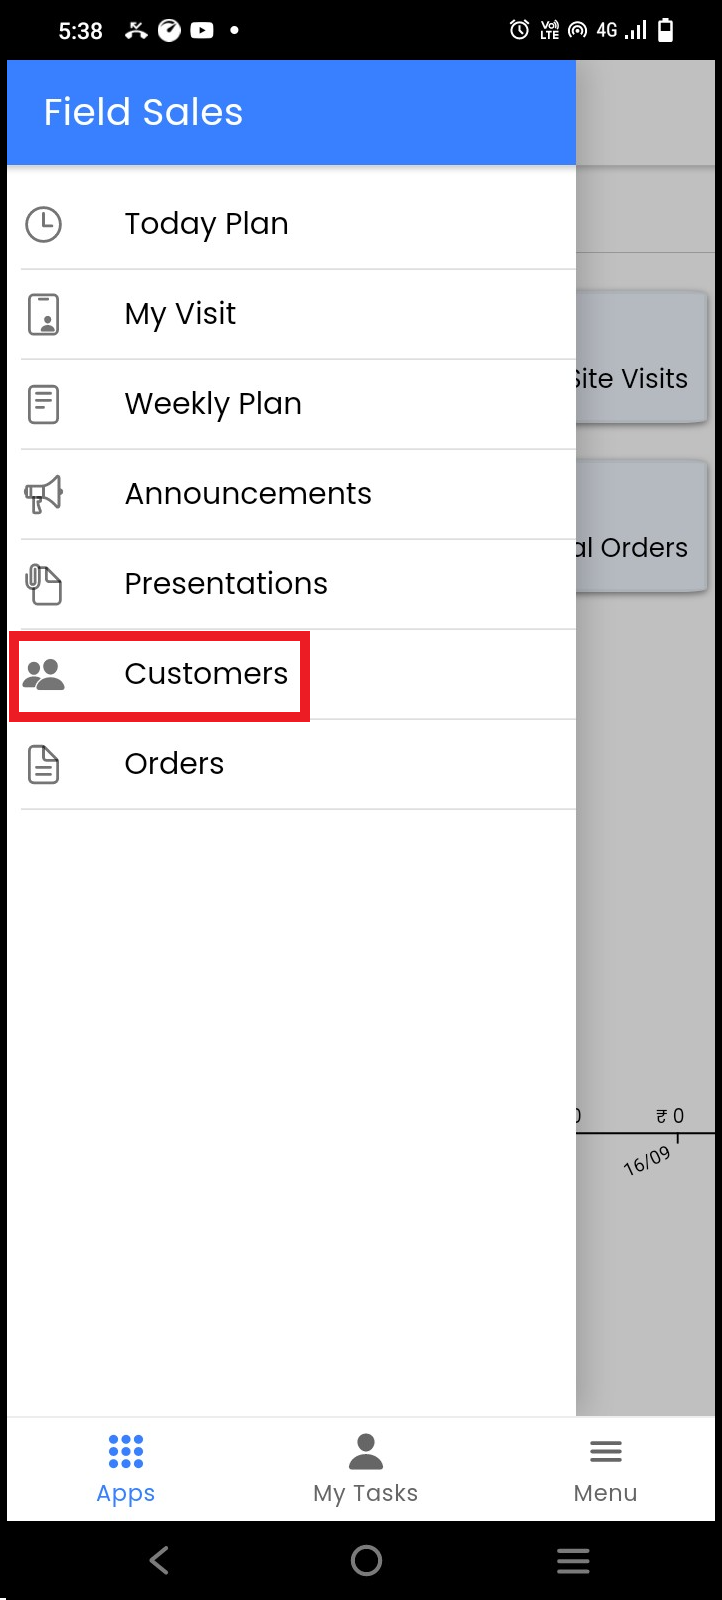
In the menu, click on the **Customers**
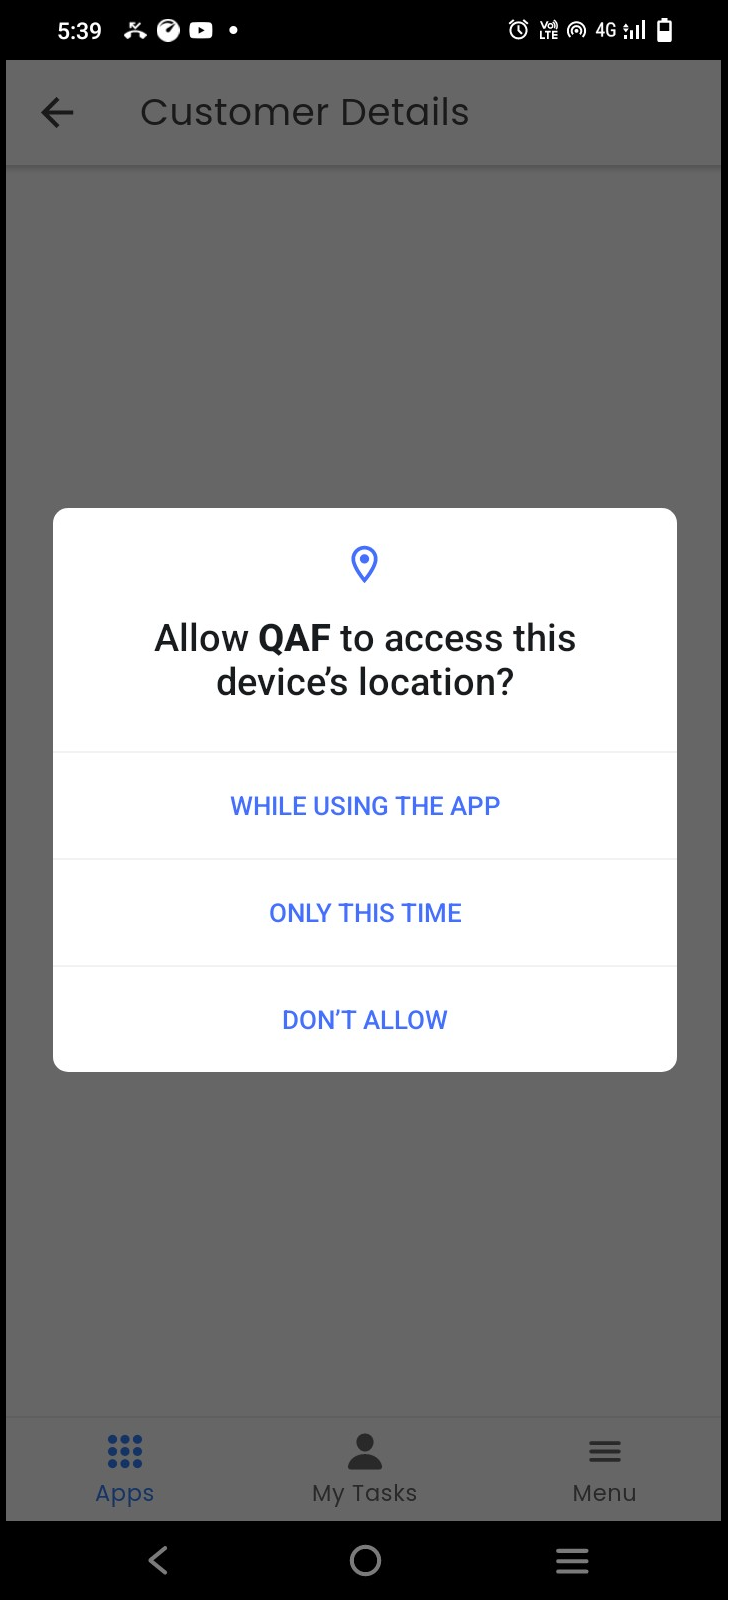
**Allow** to access the device **Location**
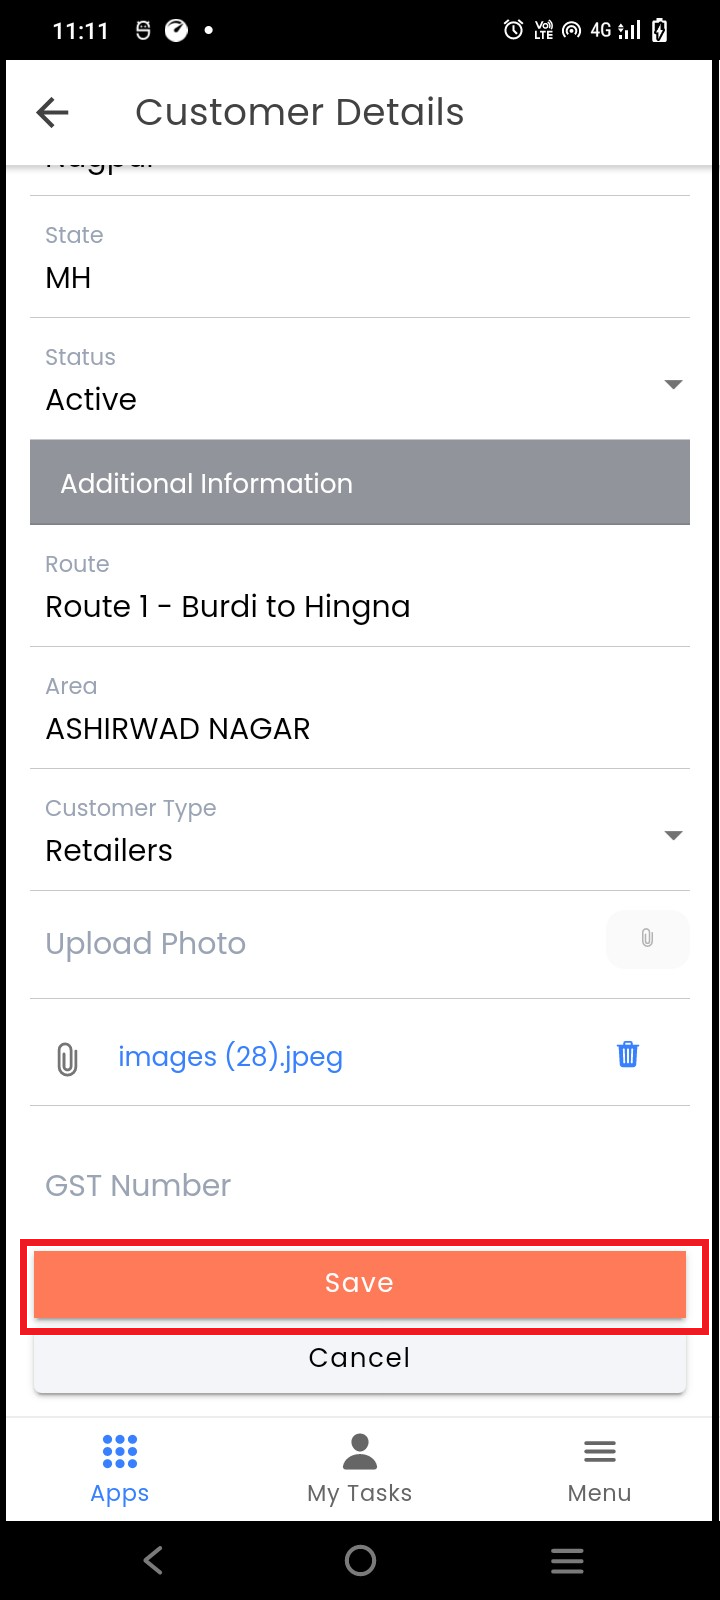
Add all the details and **Save**
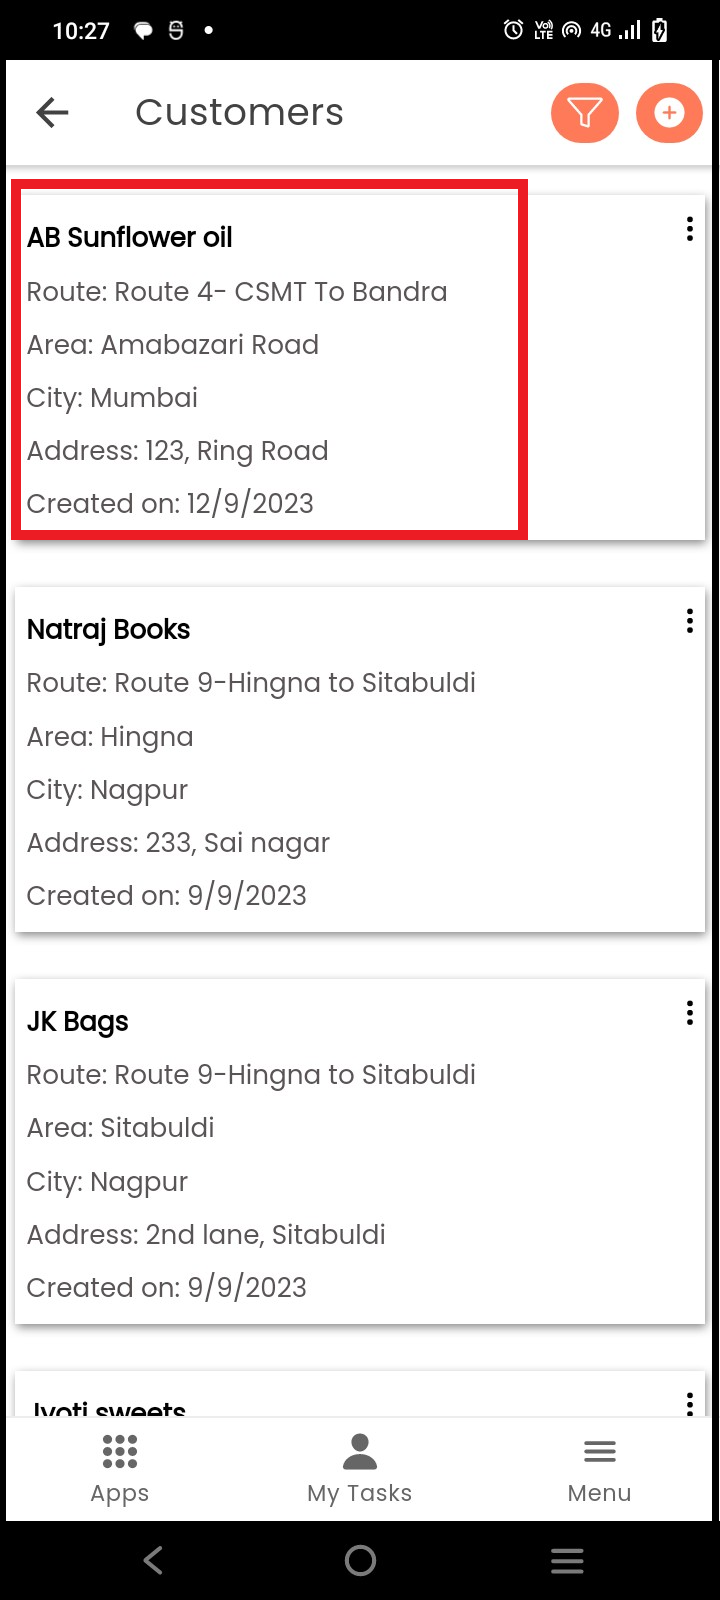
Newly added customer will be in the first position on the list
## Add customer from Today Plan
To add a customer to the Today Plan, click on **Today Plan**
**Allow** to access the device **Location**
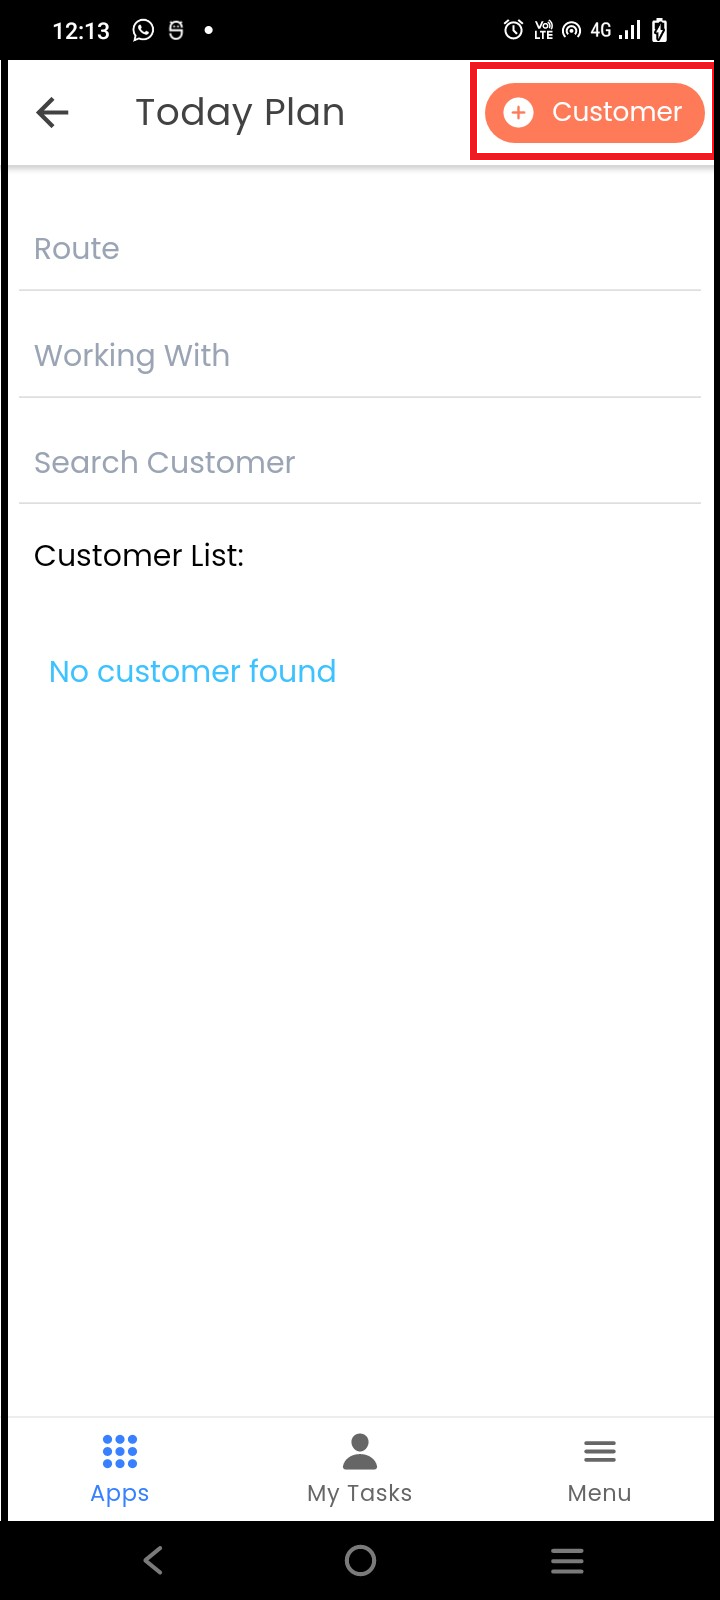
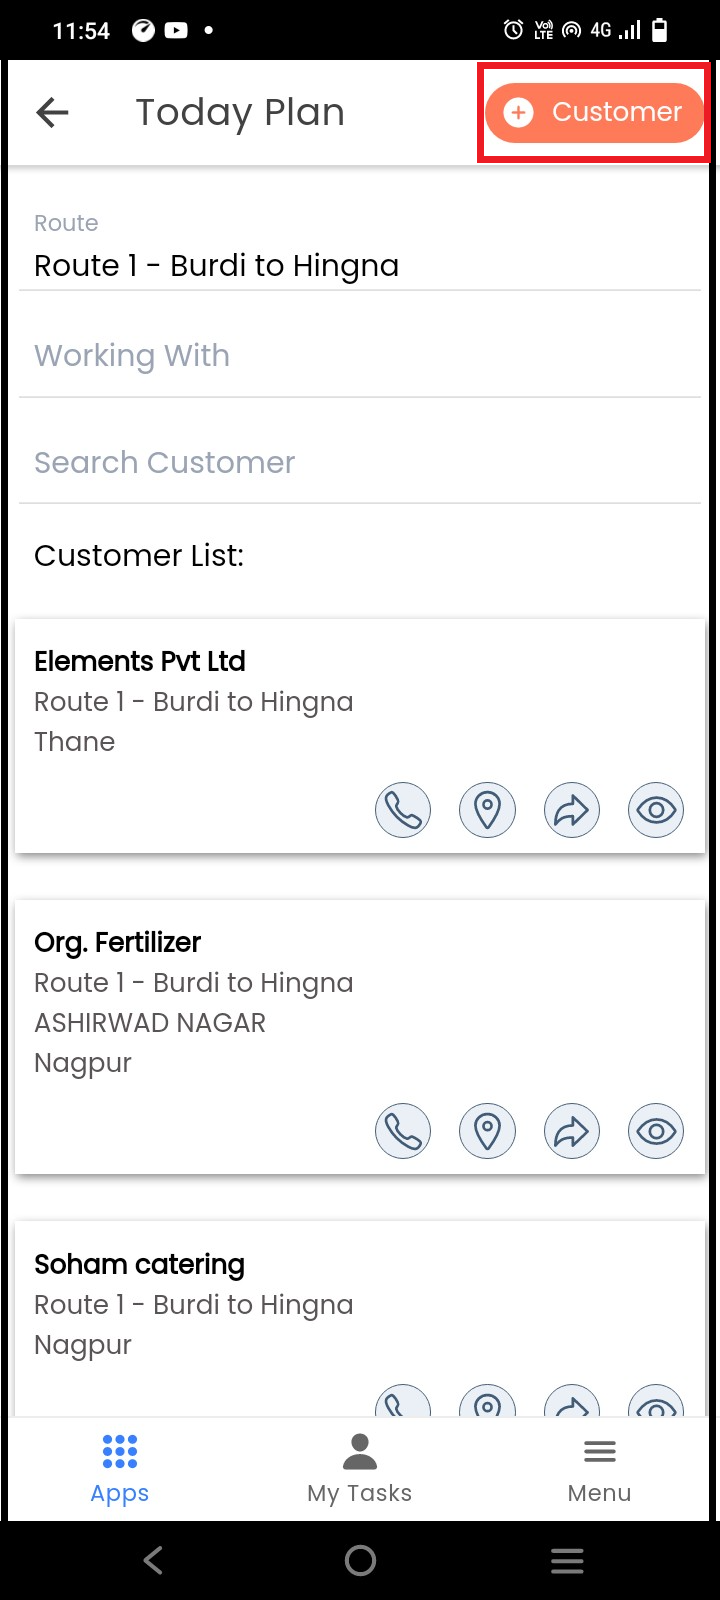
On **Today plan** page, click on **+Customer**
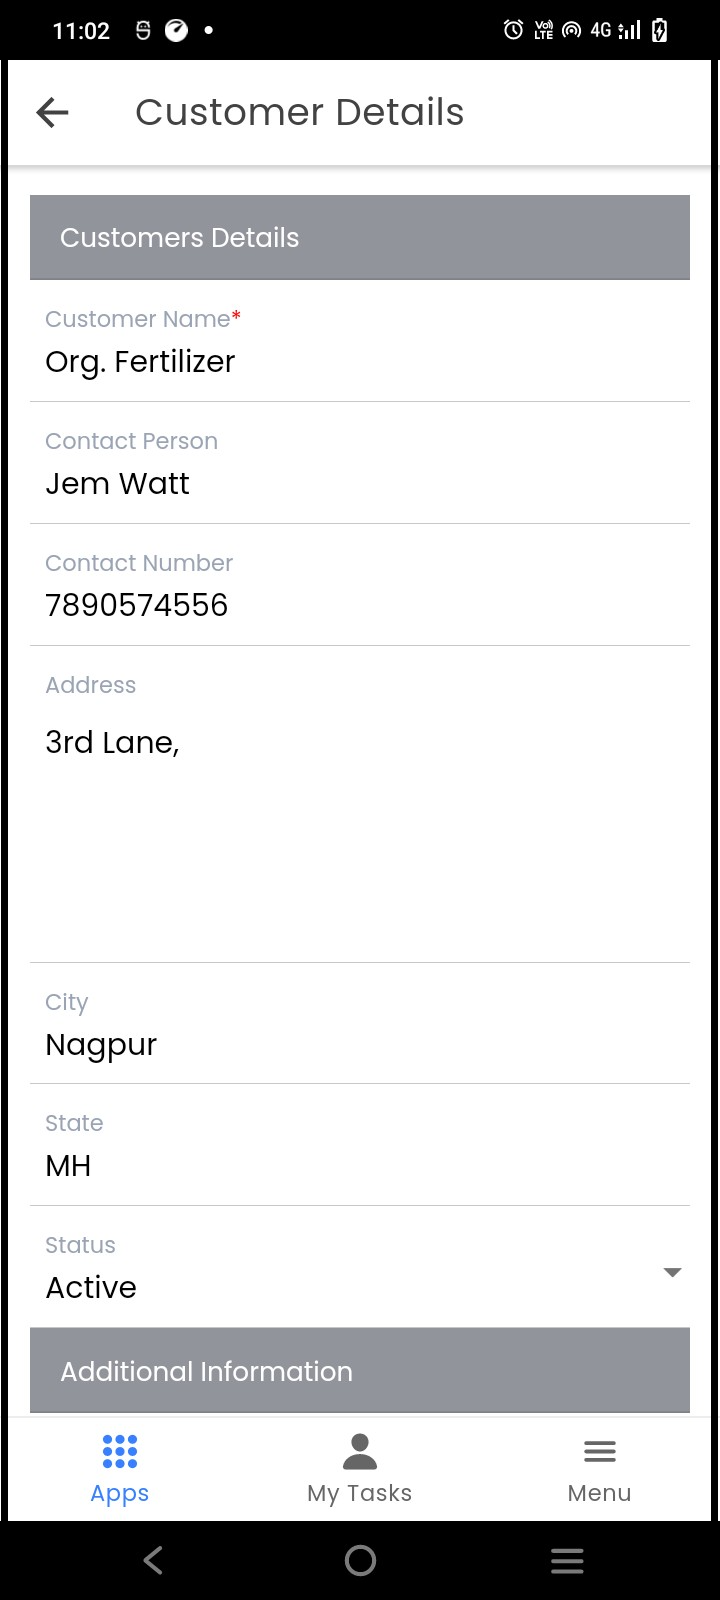
Add all the details of the customer and **Save**
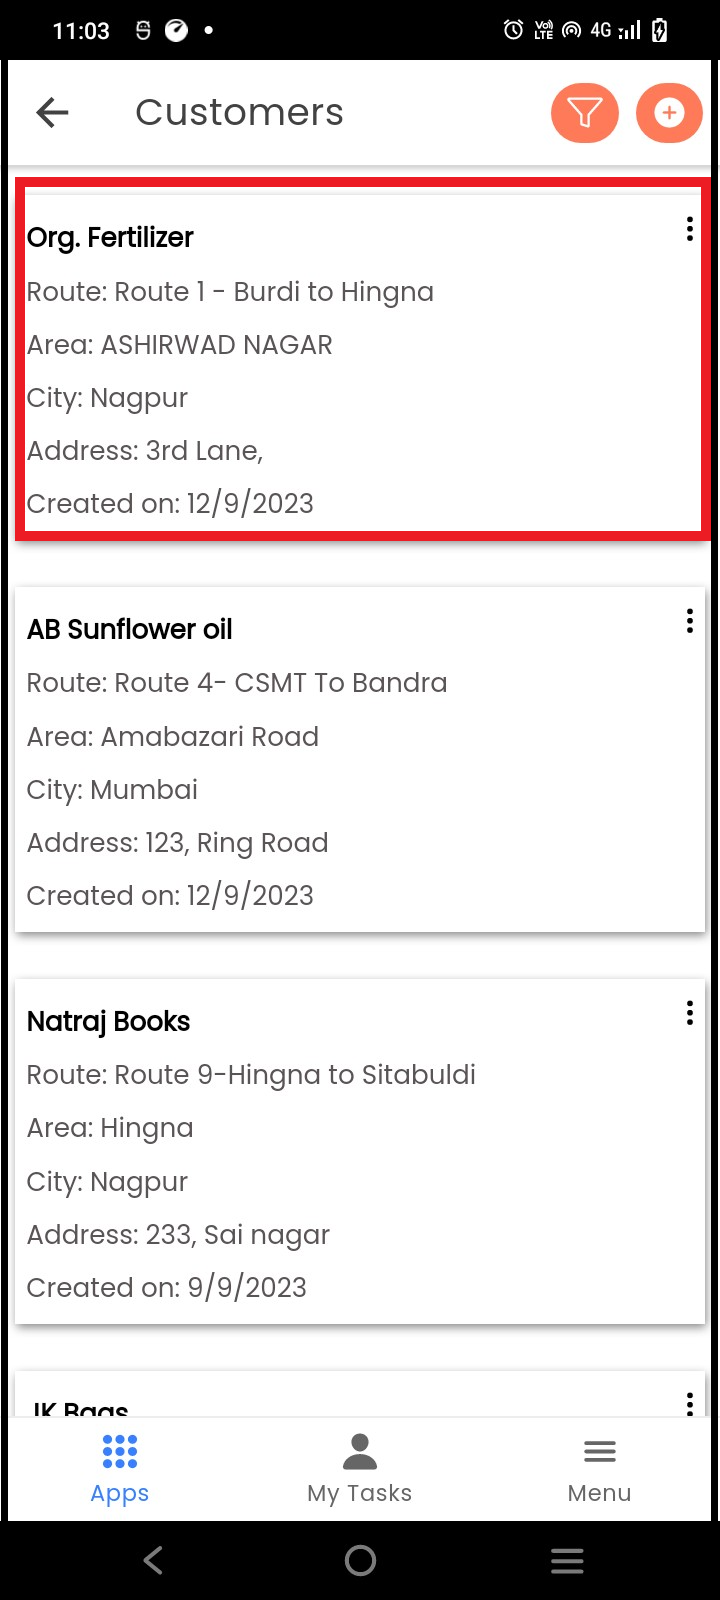
Newly added customer will be in the first position on the list
## Add Customer for Selected Route
In Today Plan, select the **route** to which you want to add a customer
Click on the **+Customer**
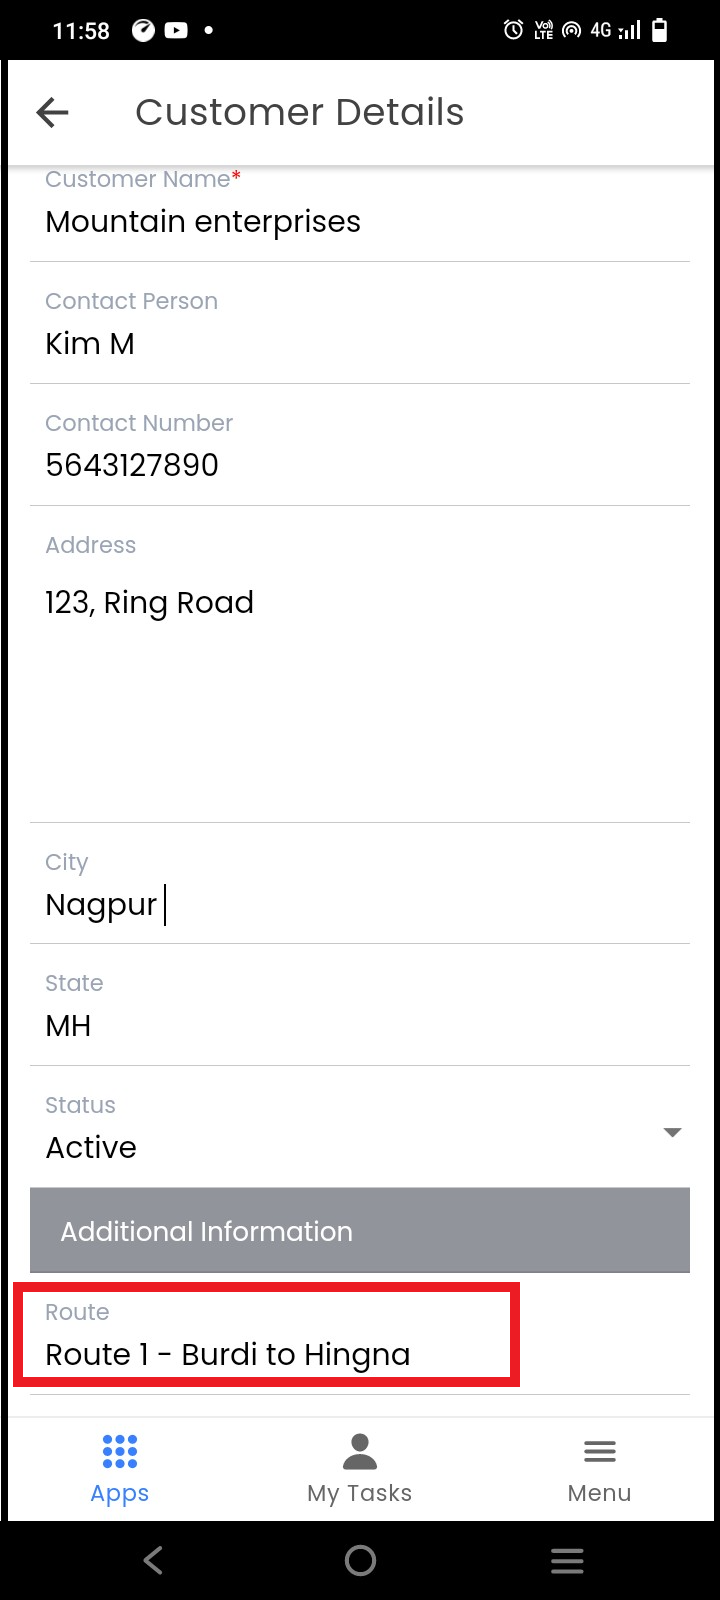
In the Customer details form, **Route** will be filled **automatically**, add the rest of the details, and **Save**
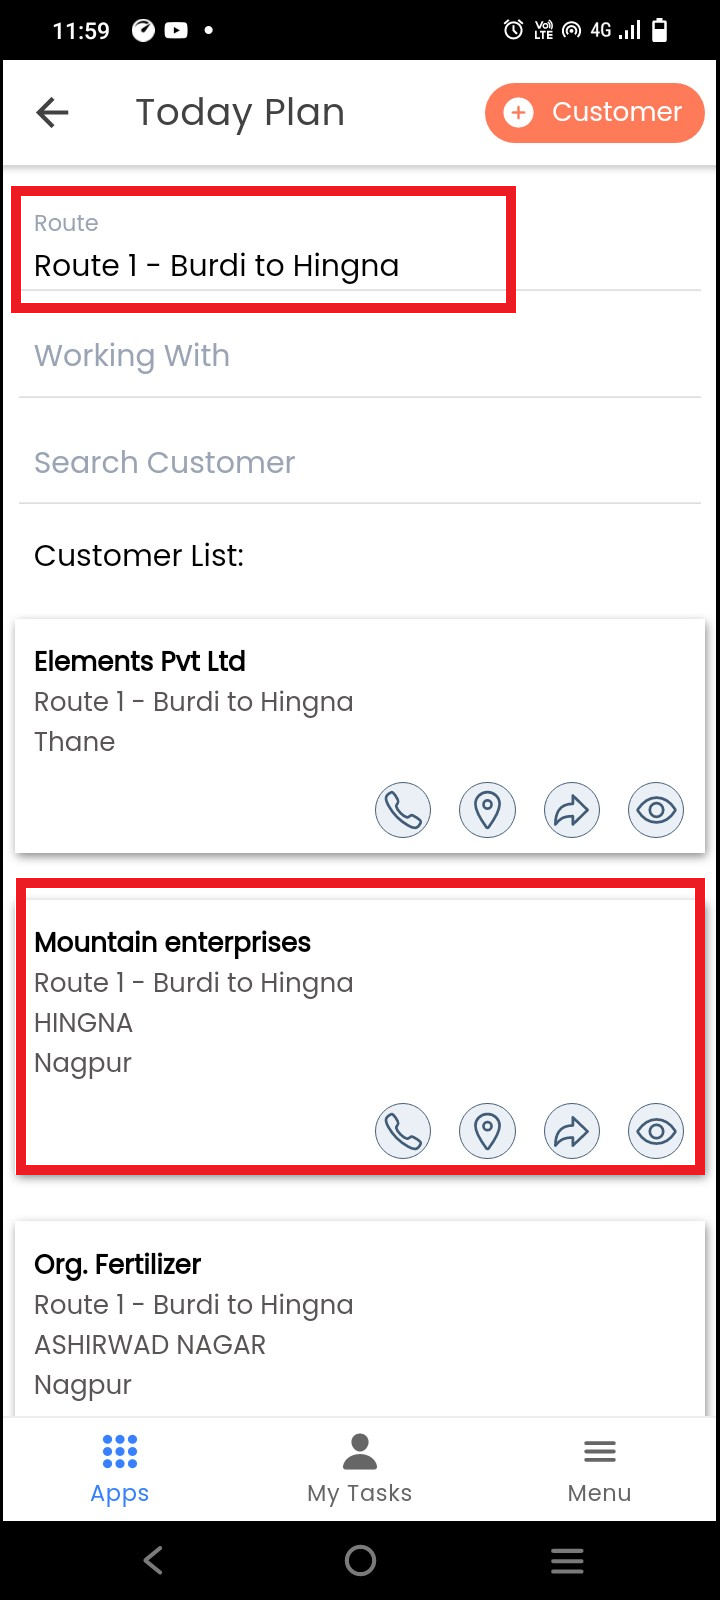
The Customer will be added under the selected Route
## Customer Activity
### Edit Customer Details
Select the customers
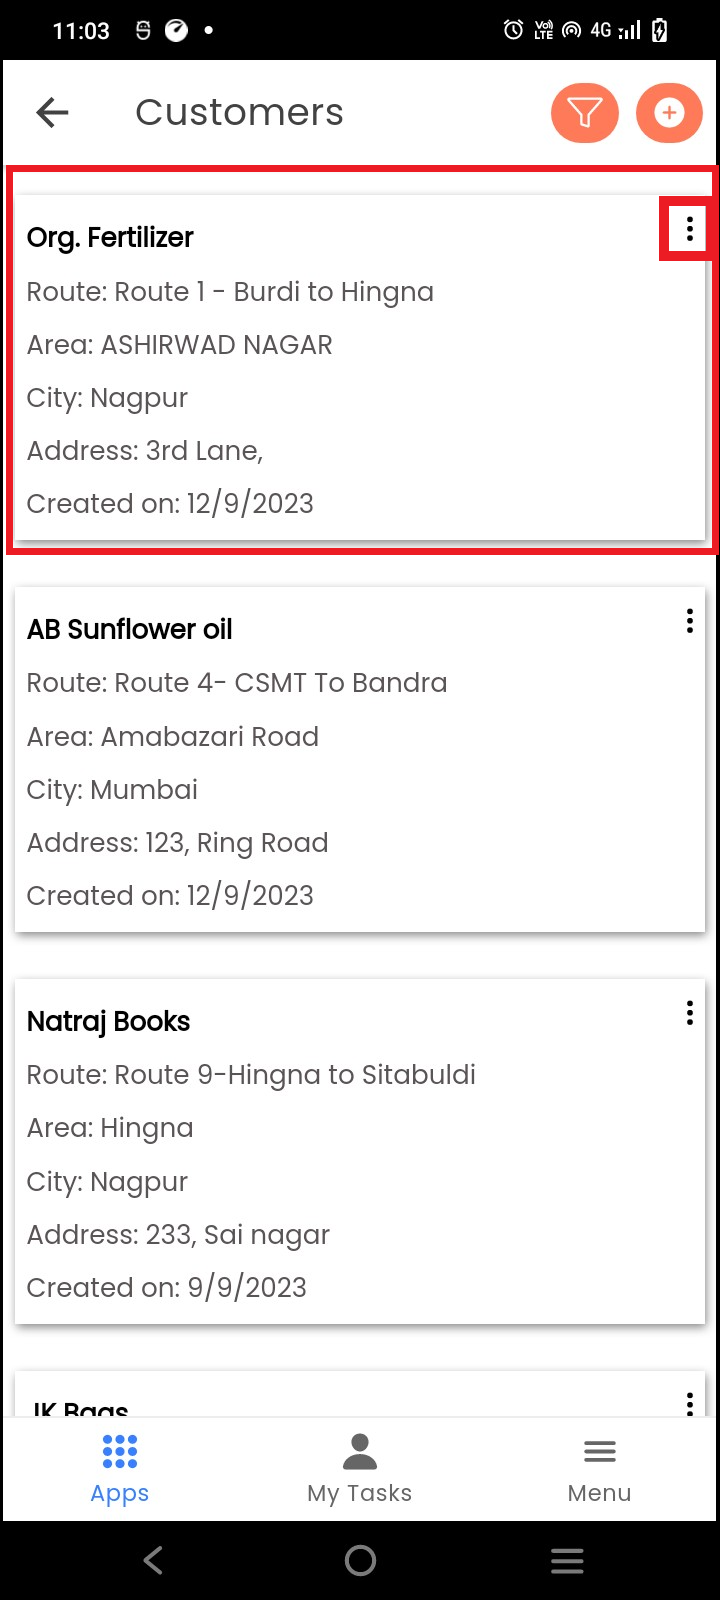
In the **Customers,** click on the Actions (3 vertical dots)
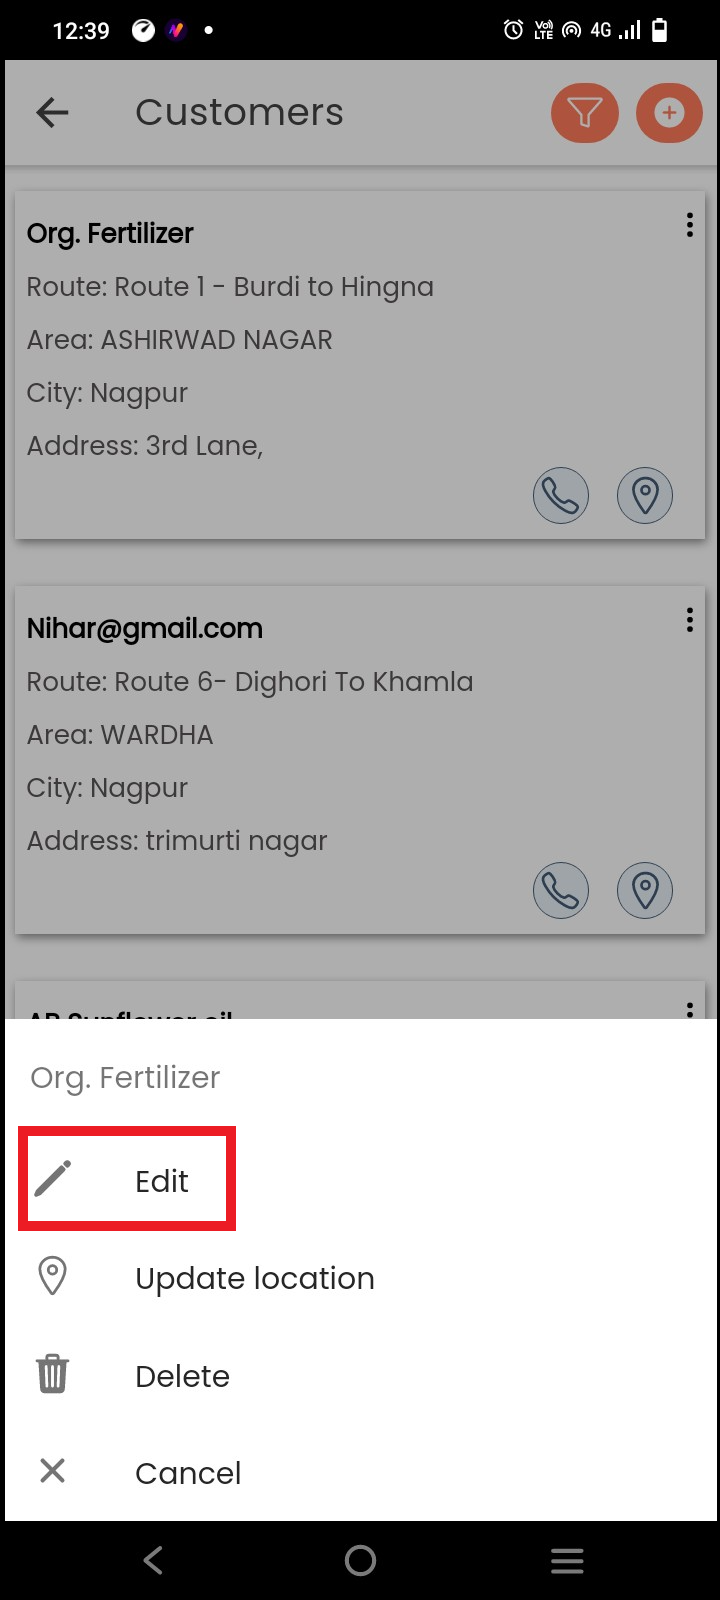
In the pop-up, click on the Edit option
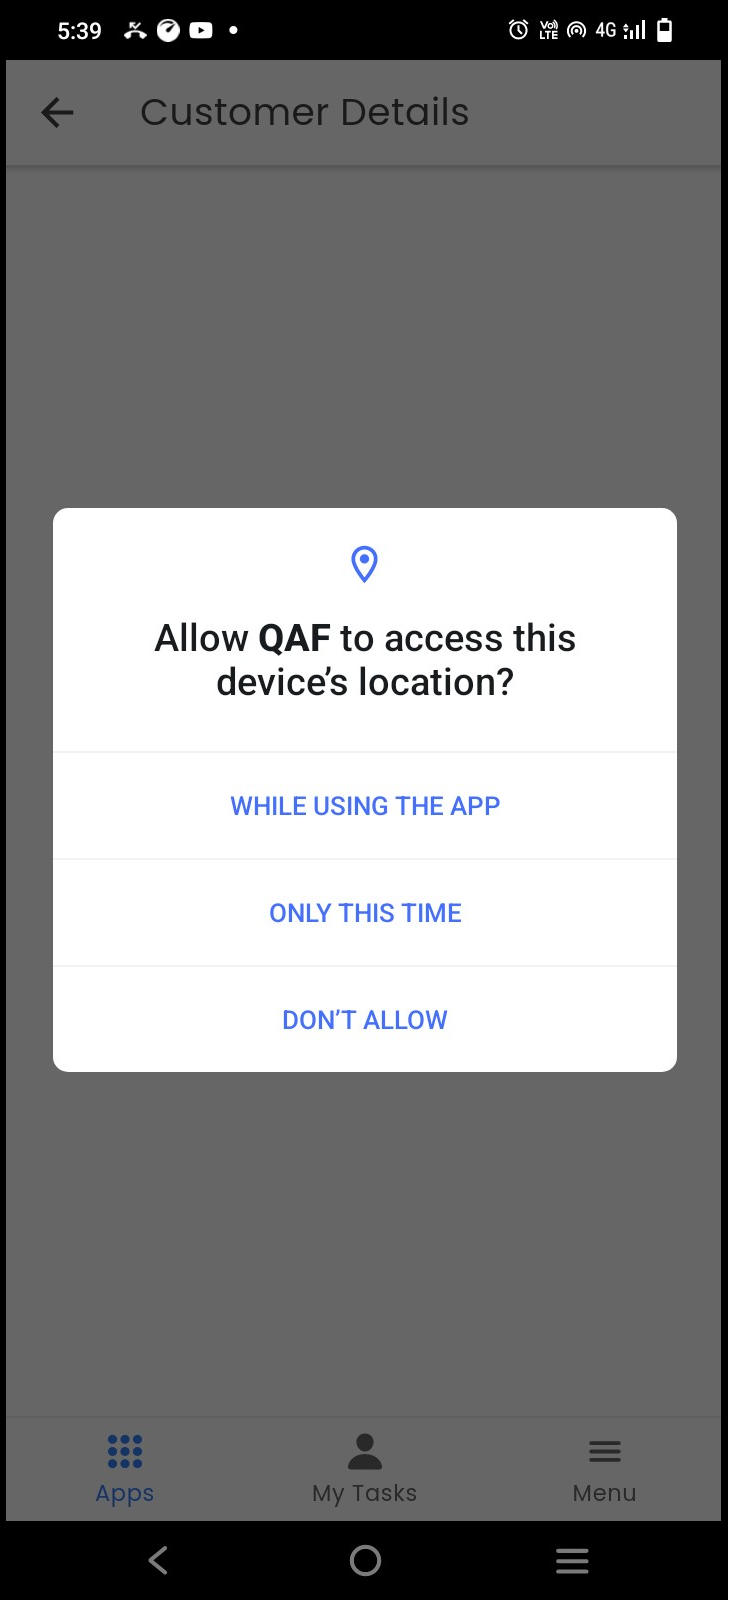
**Allow** to access the device **Location**
Edit all the details and **Save**
### Update Customer Location
Select the customer
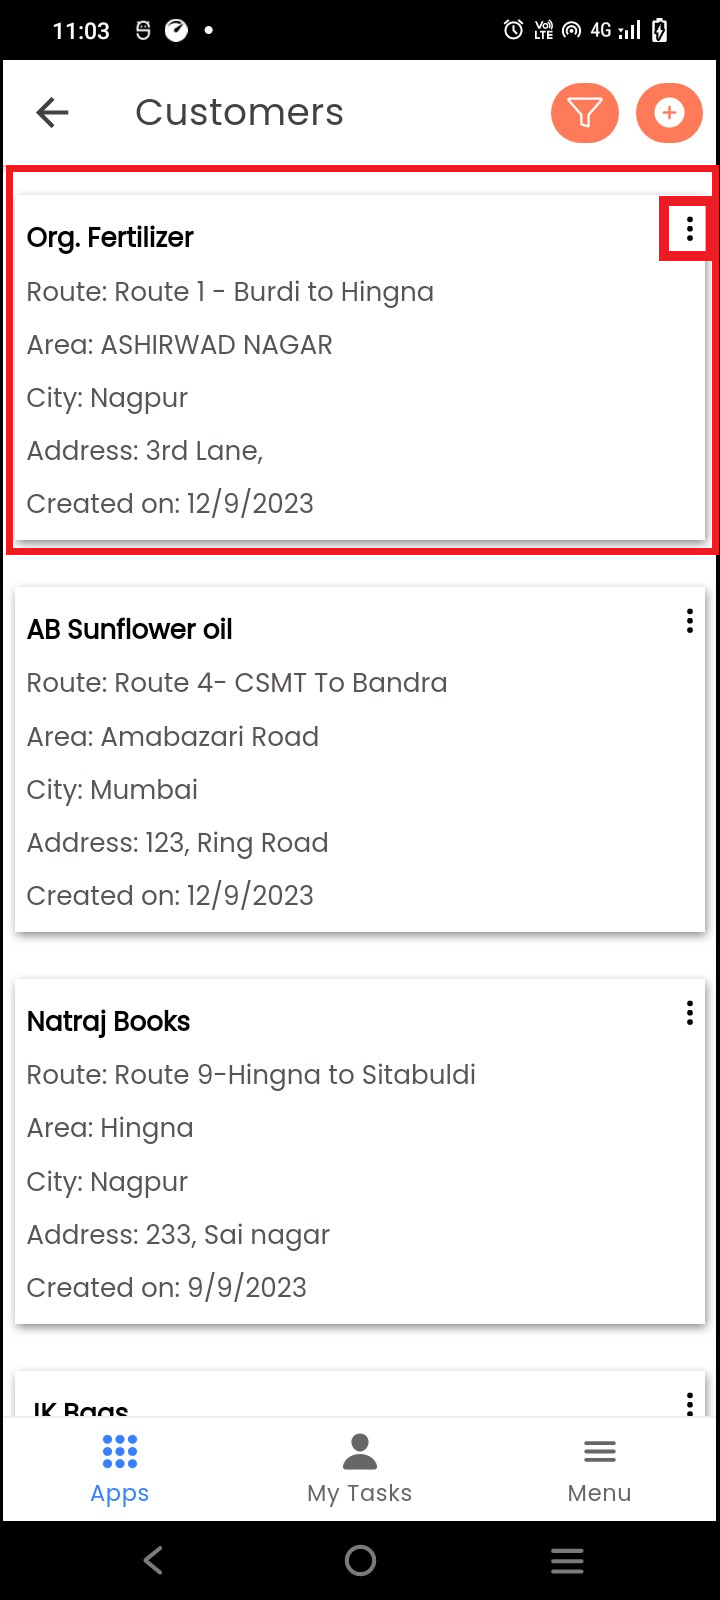
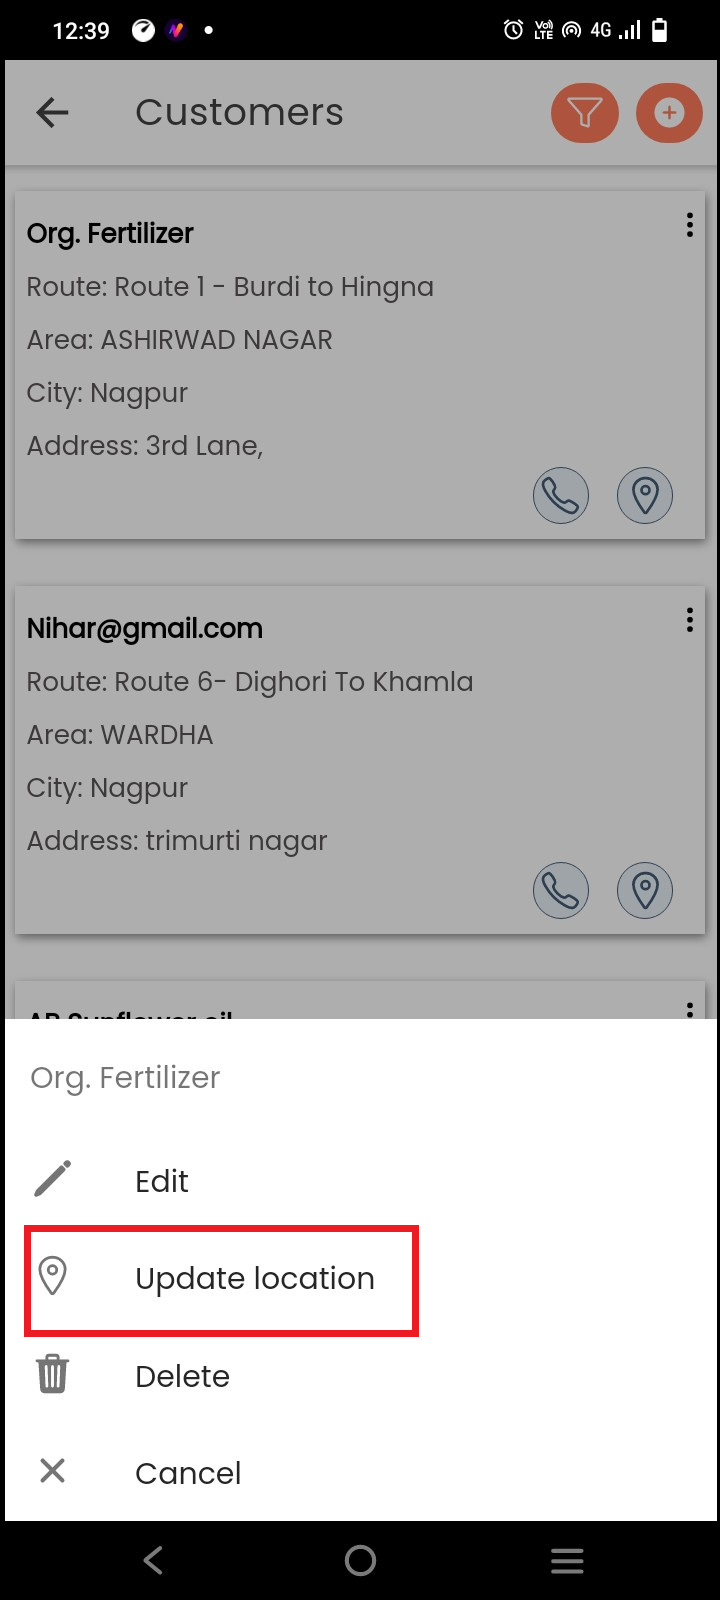
In the **Customers** click on the Actions (3 vertical dots)
In the pop-up, click on the **Update Location**
Allow to access the device location
A message that the location has been updated will appear on the top
### Delete Customer
In the **Customers** click on the Actions (3 vertical dots)
In the pop-up, click on **Delete**
Give your confirmation in the **popup** and the record will be deleted
 In the menu, click on the **Customers**
 **Allow** to access the device **Location**
 Add all the details and **Save**
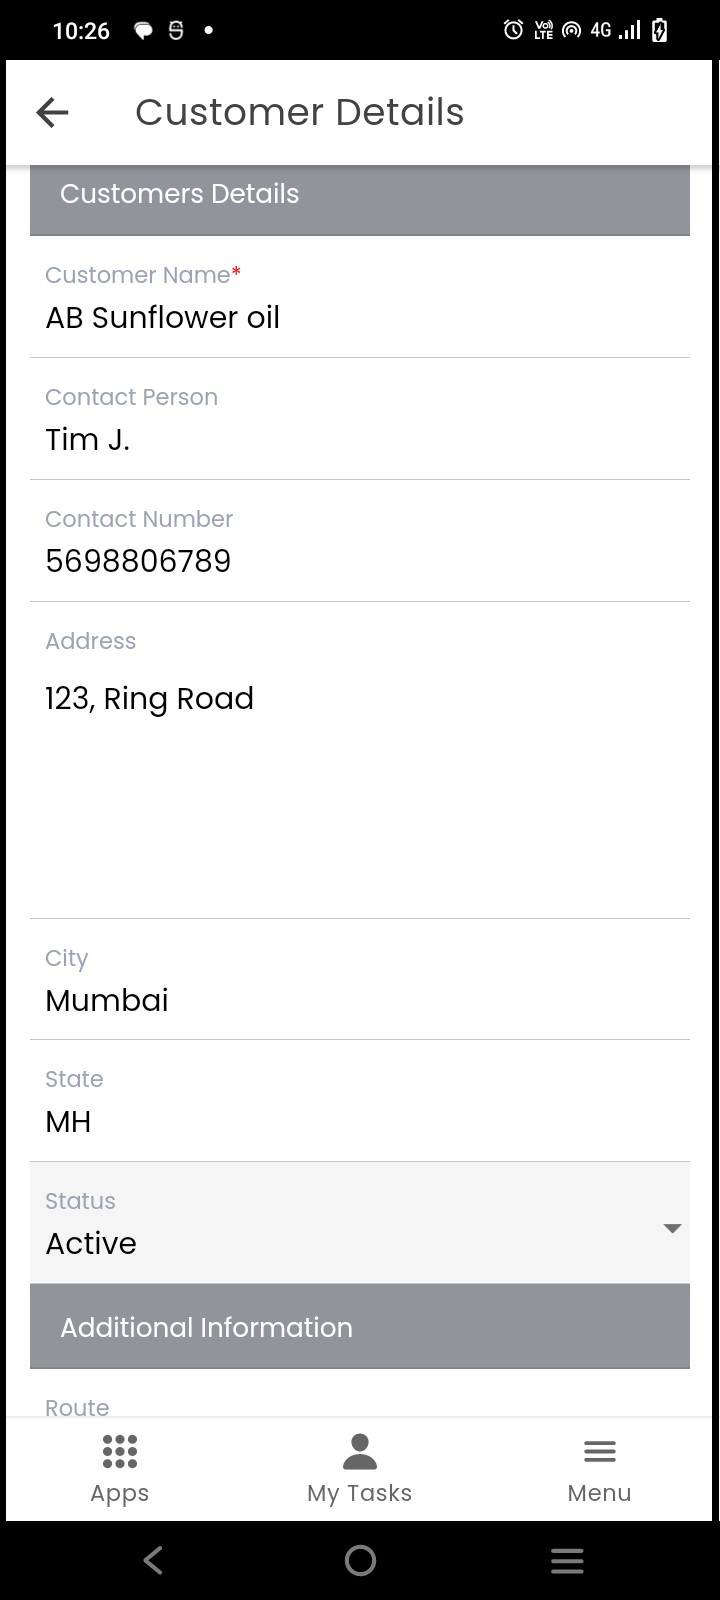 Newly added customer will be in the first position on the list
 ## Add customer from Today Plan
To add a customer to the Today Plan, click on **Today Plan**
## Add customer from Today Plan
To add a customer to the Today Plan, click on **Today Plan**
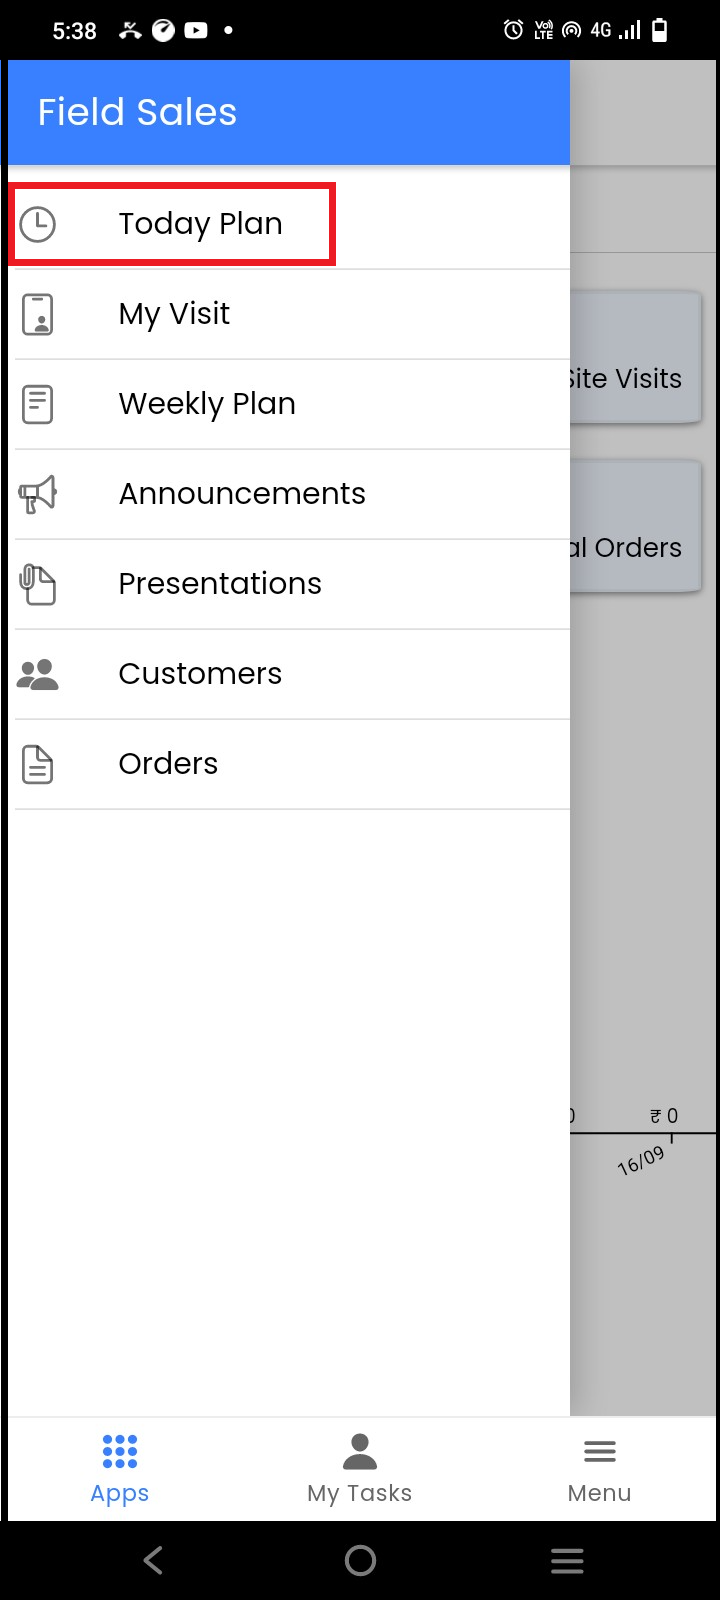 **Allow** to access the device **Location**
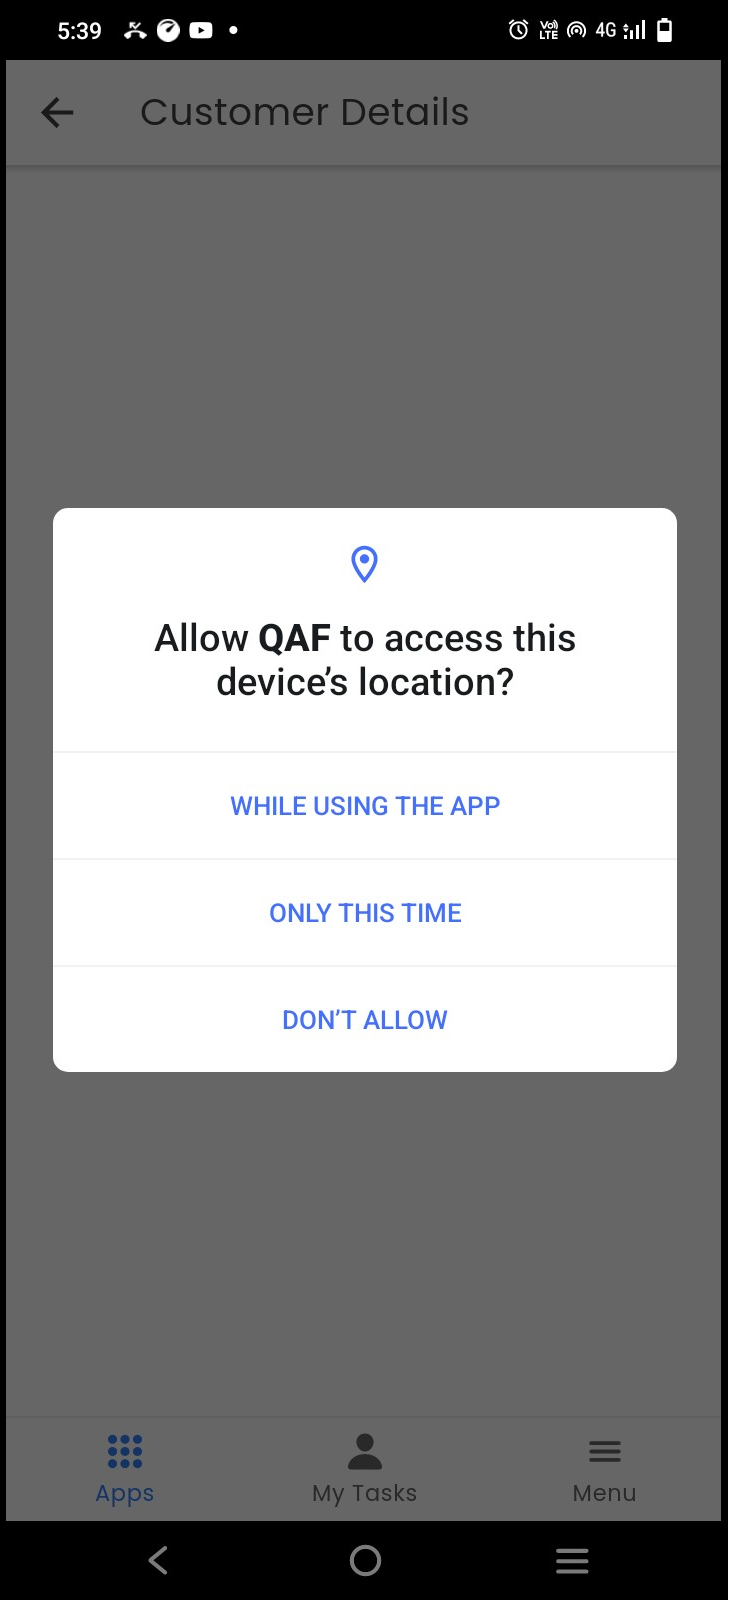 On **Today plan** page, click on **+Customer**
 Add all the details of the customer and **Save**
 Newly added customer will be in the first position on the list
 ## Add Customer for Selected Route
In Today Plan, select the **route** to which you want to add a customer
## Add Customer for Selected Route
In Today Plan, select the **route** to which you want to add a customer
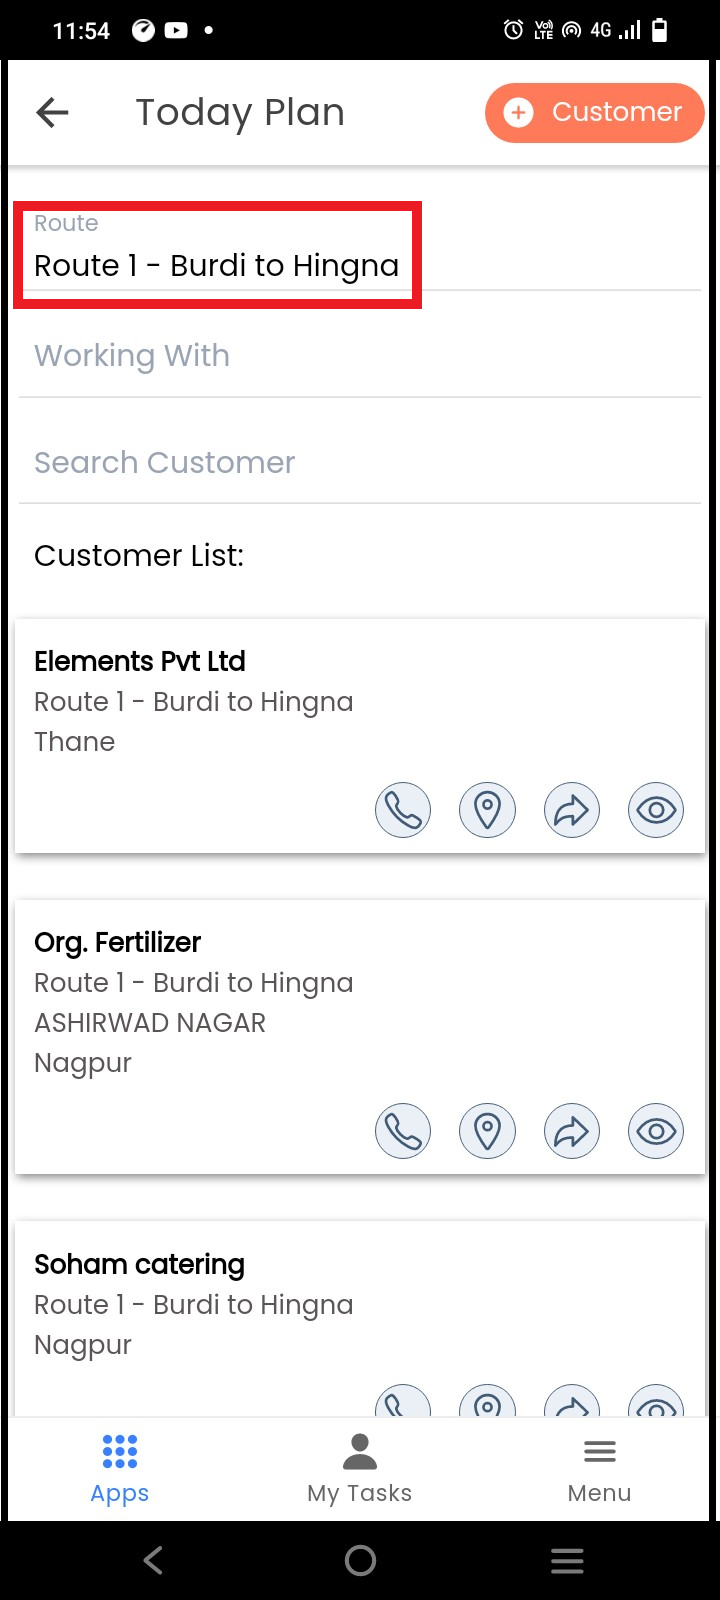 Click on the **+Customer**
 In the Customer details form, **Route** will be filled **automatically**, add the rest of the details, and **Save**
 The Customer will be added under the selected Route
 ## Customer Activity
### Edit Customer Details
Select the customers
## Customer Activity
### Edit Customer Details
Select the customers
 In the **Customers,** click on the Actions (3 vertical dots)
 In the pop-up, click on the Edit option
 **Allow** to access the device **Location**
 Edit all the details and **Save**
 In the pop-up, click on the **Update Location**
 Allow to access the device location


